I bought herb planting kits a few weeks ago and planted the seeds in several pots the other day, but I needed plant markers to keep track of what is growing in the pots.
I didn’t have wooden sticks I could have simply written the names on, so I was wrecking my brain about what I could make plant markers with.
You see, I keep everything I think could come in handy in the future. I keep the little twist ties from bread bags, the plastic pumps from shampoo bottles — you get the idea. I have a hard time throwing out anything I could reuse or upcycle.
I was thinking of all the things I have, the shapes and material, and then it hit me: I’ll use the orange juice can tops I’ve been hoarding!
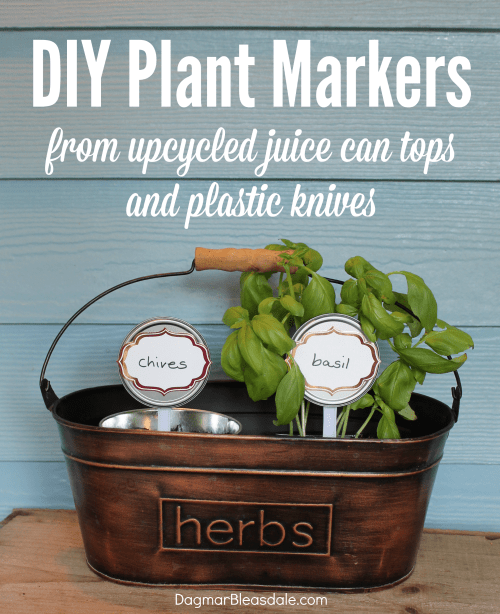
DIY Plant Markers From Upcycled Juice Can Tops & Plastic Knives
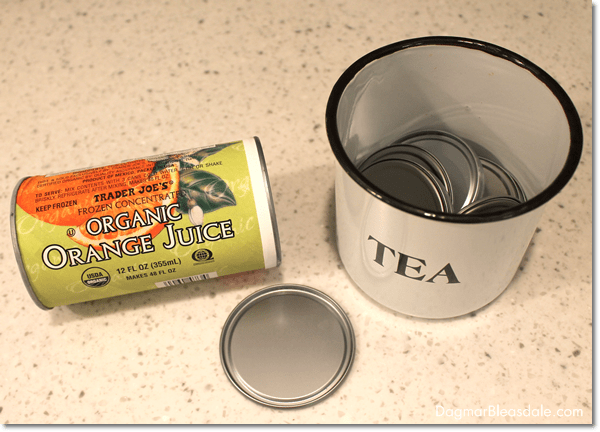
I’ve found that buying Trader Joe’s frozen organic orange juice cans is the most inexpensive way to buy organic OJ, so every time I open a can, I wash the top and throw it into my enamel canister.
I didn’t have a particular use in mind for them, but I knew they’d come in handy for something eventually. Voila!
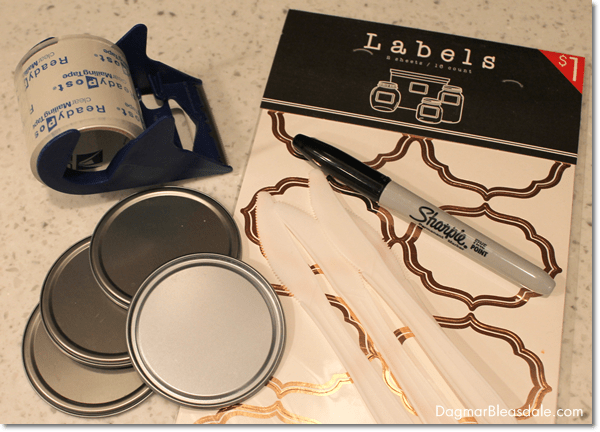
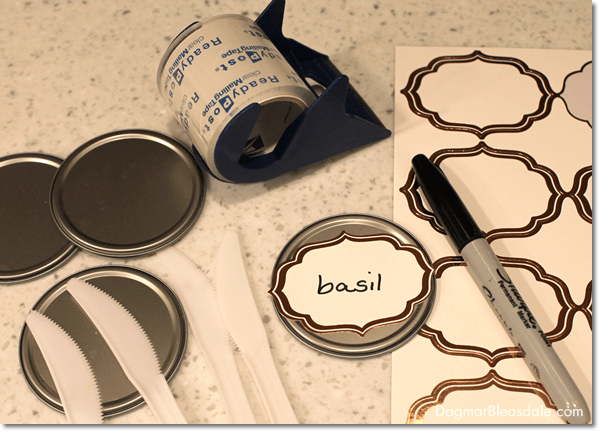
I was going to just write the plant name on the can top with a Sharpie but I had just bought these labels for $1 at Target. Would they fit? Yes, they did!
Hmm, what to use for sticks? The plastic knives I save every time Don brings home takeout food.
I just supplied Landon’s whole class with 30 knives, forks, and spoons for free because I had saved that many plastic utensils.
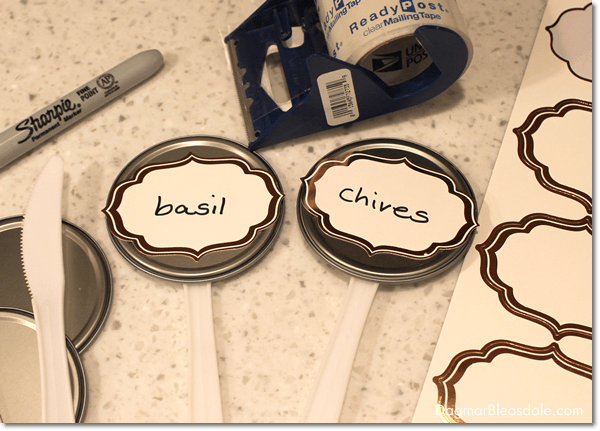
After I stuck the labels on the can top, I wrote the plant name on it. Then I turned the top around and taped the plastic knife to the back.
If your plant markers will be exposed to rain, just put some tape on top of the name so it doesn’t smudge.
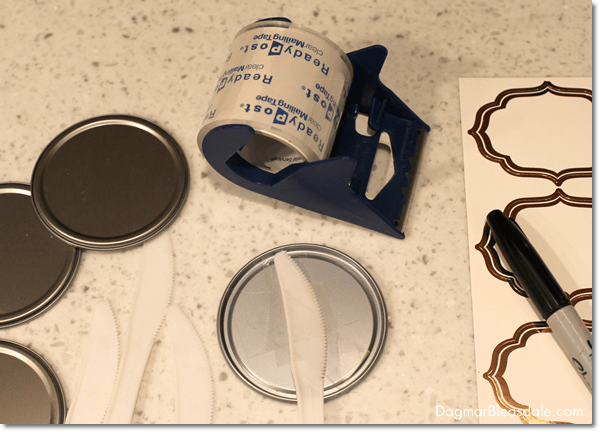
That’s all you need to make DIY plant markers.
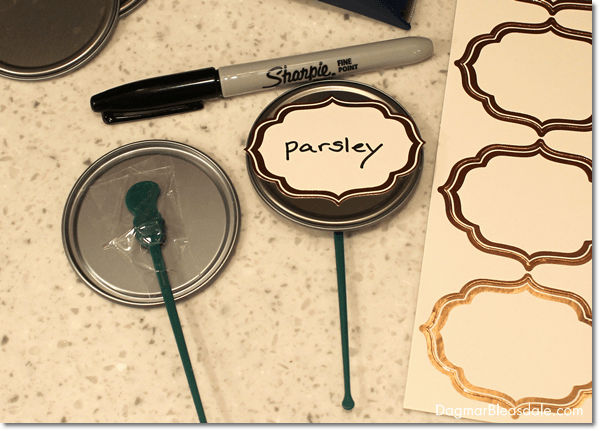
Here is another idea: if you save coffee stir sticks like me, you could tape those to the can tops as a stick.
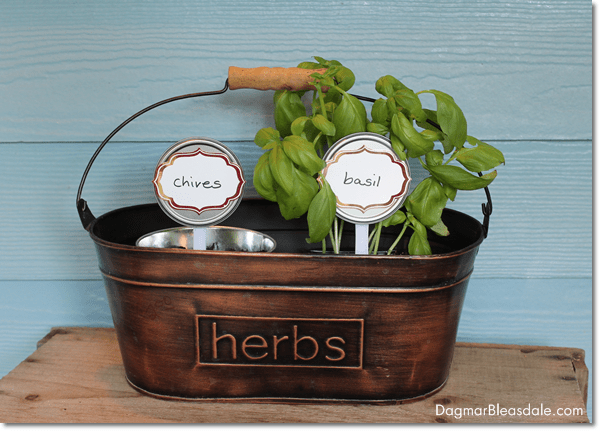
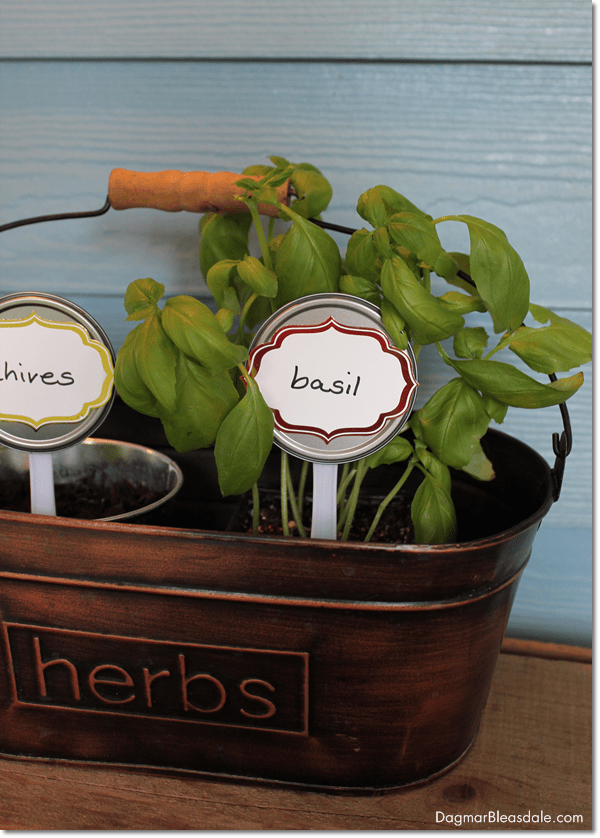
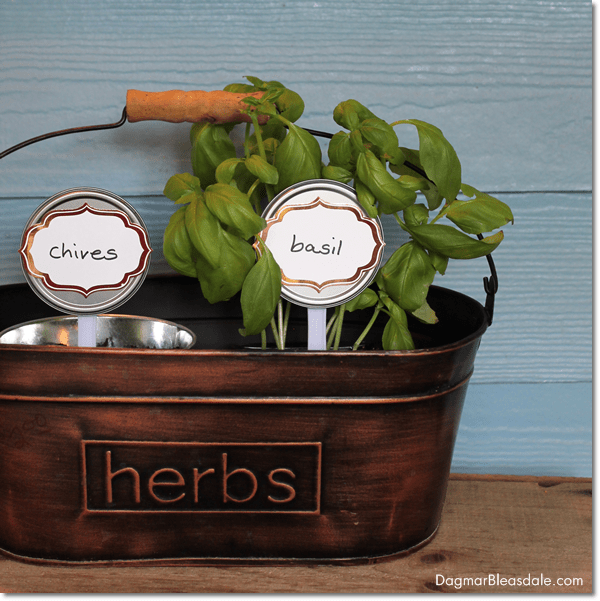
And this is what the markers look like in action! I’m using my basil plant that’s already grown for this picture.
BTW, this “herbs” caddy is a thrifty find: I bought it for a dollar at a tag sale.
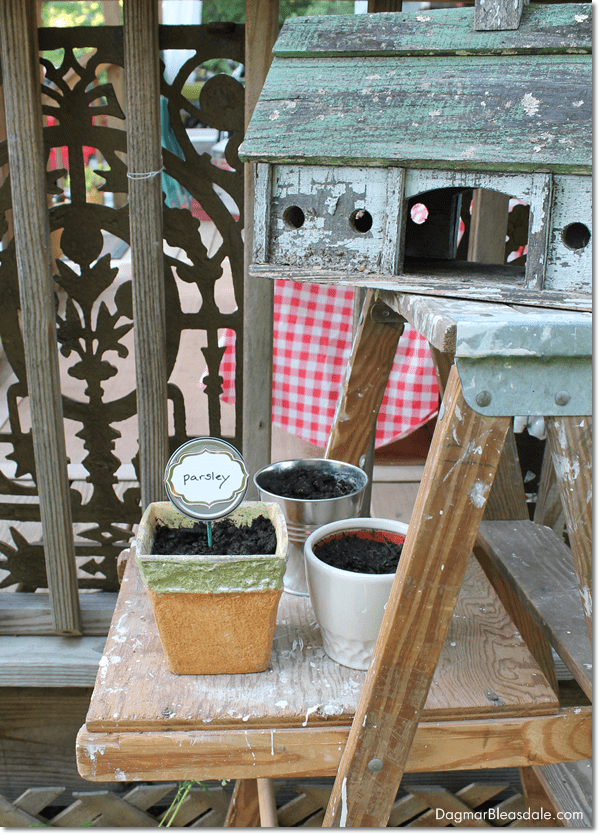
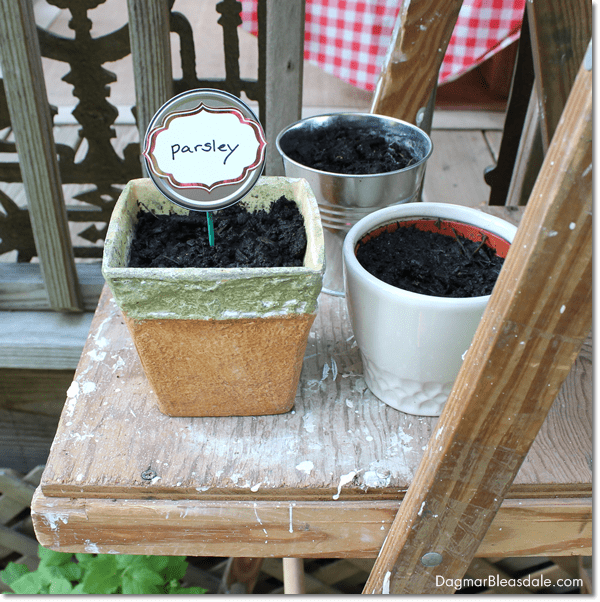
These are three pots with parsley seeds, with the parsley sign I made with the coffee stirrer. It works just fine, but the plastic knives work better because they are bigger and sit in the soil more tightly.
This project was so easy, and I got to upcycle juice can tops.
If you like this DIY project, please pin or stumble it! Thanks for your support!
Do you save anything for upcycling projects? Have you ever make DIY plant markers?
Nancy says
Very cute and a great idea! I love the herb container, too!
Lindsay says
This is BRILLIANT! I’ve been trying to think of ways to label my herbs! Thanks so much for sharing at Merry Monday!
Randi says
Oh, this are cute and simple! A great combination, for sure!
Vanessa says
What a great idea and I love how pretty they look. I’ve enjoyed looking around your lovely blog and would love for you to link your creative post at a link party I am hosting. Hope to see you there. Have a great week. http://diy180site.blogspot.com/2016/07/dishing-it-and-digging-it-link-party-105.html
Jamie | anderson + grant says
This is such a useful project! I love anything that uses up what you already have at home.
Dagmar Bleasdale says
Thanks, Jamie, those are my favorite projects as well. I hope you’ll link up to the vintage party again — you always have so many neat items!
Kristen from The Road to Domestication says
Brilliant and so cute!!! Love!!! Thanks so much for taking the time to link up over at the #HomeMattersParty – we hope to see you again next week!
Dagmar Bleasdale says
Thanks, Kristen!
Jenny @ Refresh Living says
What a great idea! I love an easy upcycle project with stuff that’s already around my house. Gotta love the dollar spot at Target!
Cathy says
What a great idea – so cute. I love that you recycled things you had. Thank you for sharing at Share It One More Time. Cathy
Jessy @ The Life Jolie says
What a cute idea and a great way to use what you have (a total win/win).
I stopped by from Inspiration Monday.